No products in the cart.
 One of the most fascinating aspects of modern day sword making, particularly in regards to medieval swords, is without question, Damascus steel. Time after time, collectors have asked us about the properties and the beautiful patterns for which Damascus steel is so well known for. Inevitably, as a collector, one is bound to be fascinated by the artistic attributes of Damascus steel blades. The complex range of possibilities in terms of color scheme, pattern designs and the contrast between various alloys used to create Damascus present some of the fascinating aspects of pattern-welding. The purpose of this brief introduction is to provide the novice sword collector, a basic understanding of the steps involved in forging Damascus steel such as our Elite Series blades. More advanced issues and technical details will be touched upon in follow-up articles.
Simply explained, Damascus blades are basically made of several pieces of steel, each with a different metallurgical composition. Stacked together, these layers of steel is called a pile. The pile is composed of five or more pieces of steel, stacked one on top of the other, bound together by metal wire, and forge welded and manipulated to create a pattern, hence the term “pattern welding”.
As one prepares to forge the blade, the pattern and tone will be created by the different metallurgical content contained in the alloy of the stack. As a general guideline, when forging a Damascus steel blade, Manganese will produce a dark/black tone; Nickel will produce bright silver tones, Chromium will produce a light gray color and High Carbon will produce a darker gray color.
During this step, for the lighter tones in the Damascus, we use a blend of two high carbon alloys – XC90 equivalent to 1095 -and three with medium carbon content;- C30 equivalent to 1030, or at times, 15N20, which is close in make-up to L-6. This is basically “our” recipe and is by no means the “end all ” of Damascus recipes. Each sword maker will experiment and develops his own selection, based on the desired color, contrast, pattern and, more importantly, functionality (i.e., the recipe for a Damascus steel knife may not necessarily be functional for a sword).
 Once the sword maker has determined which alloy to use, he must determine the melting points of each billet as each type of steel has a different melting point. The steel with the highest melting point will be placed closer to the outer walls of the pile (which will cause it to heat more rapidly), while the steel with the lowest melting point should be closer to the center of the pile.
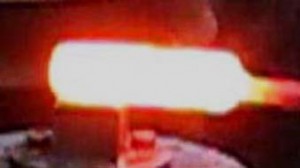
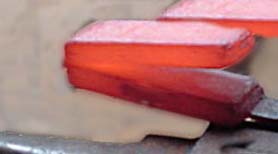
When the stack glows cherry red, it is ready for welding. We remove the stack and hammer it until it’s half its original thickness. We then fold the metal onto itself along the length, and hammer the two halves together. Although this stage can be repeated countless times, we repeat this process 8 times. Flattening the stack, folding it and hammering again.
 Once completed, we make sure that the blade is dark red from the heat. If it is lighter in color, the blade is too hot and will crack during the hardening process. We quench the blade. Quenching will cause the metal’s molecular structure to crystallize and harden. Once this process is complete, the blade smith will complete the sword blade by hammering the stack to flatten, lengthen and shape the blade, ultimately
resulting in a completed Damascus steel blade.
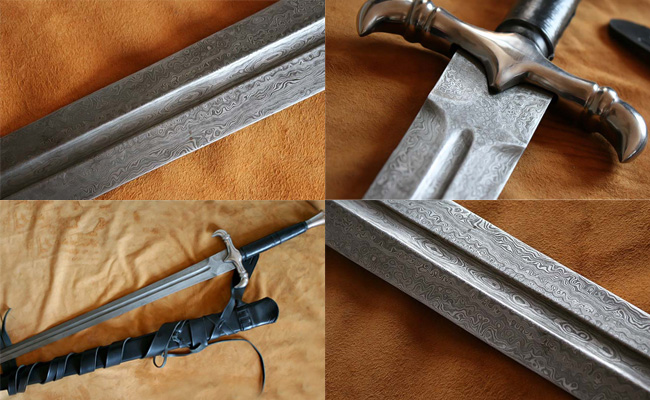
The aformentioned steps present a basic introduction to the making of damascus steel blades. More advanced topics and techniques will be published as time permits. Below are examples of custom made Damascus Steel swords we have made in the past. Should you have any questions, please do not hesitate to contact us at webmaster @ darksword-armory.com


